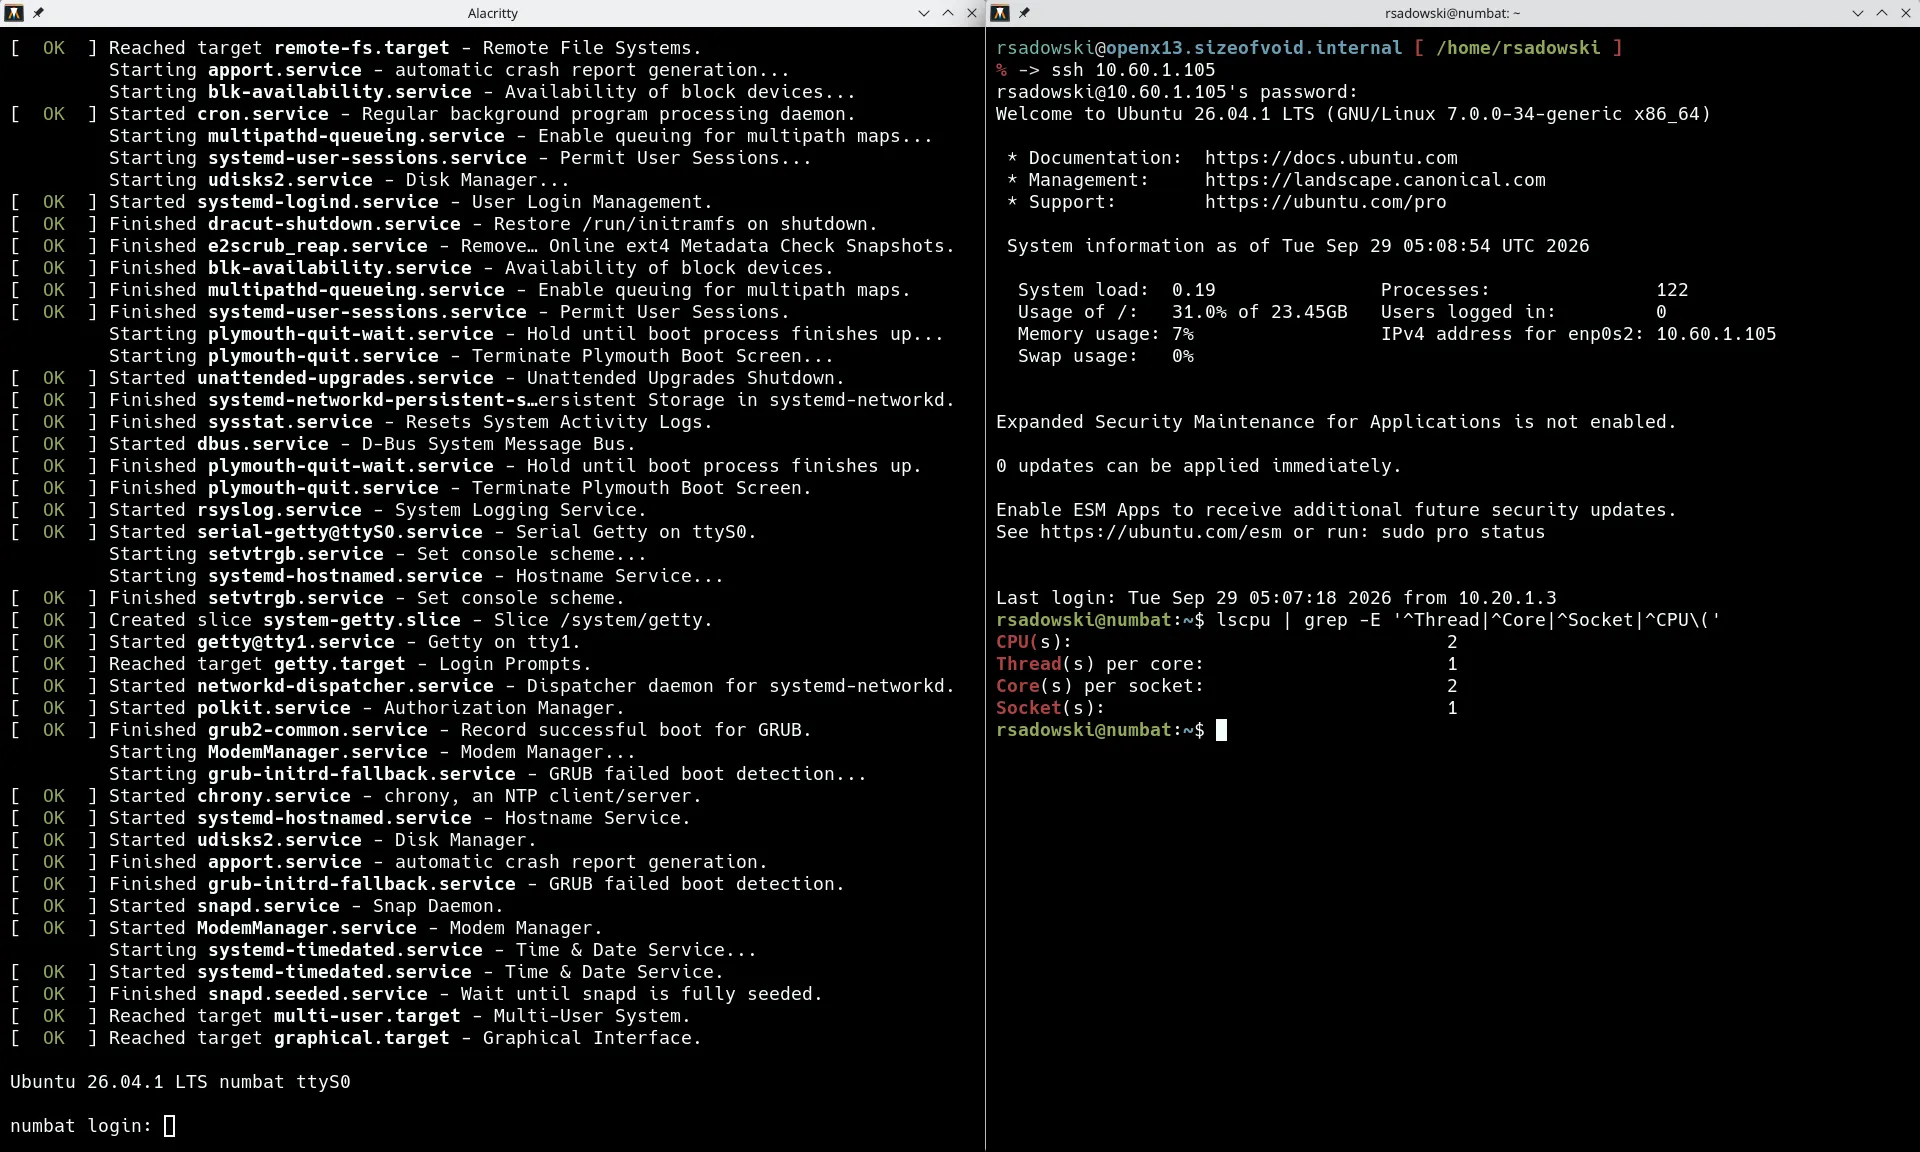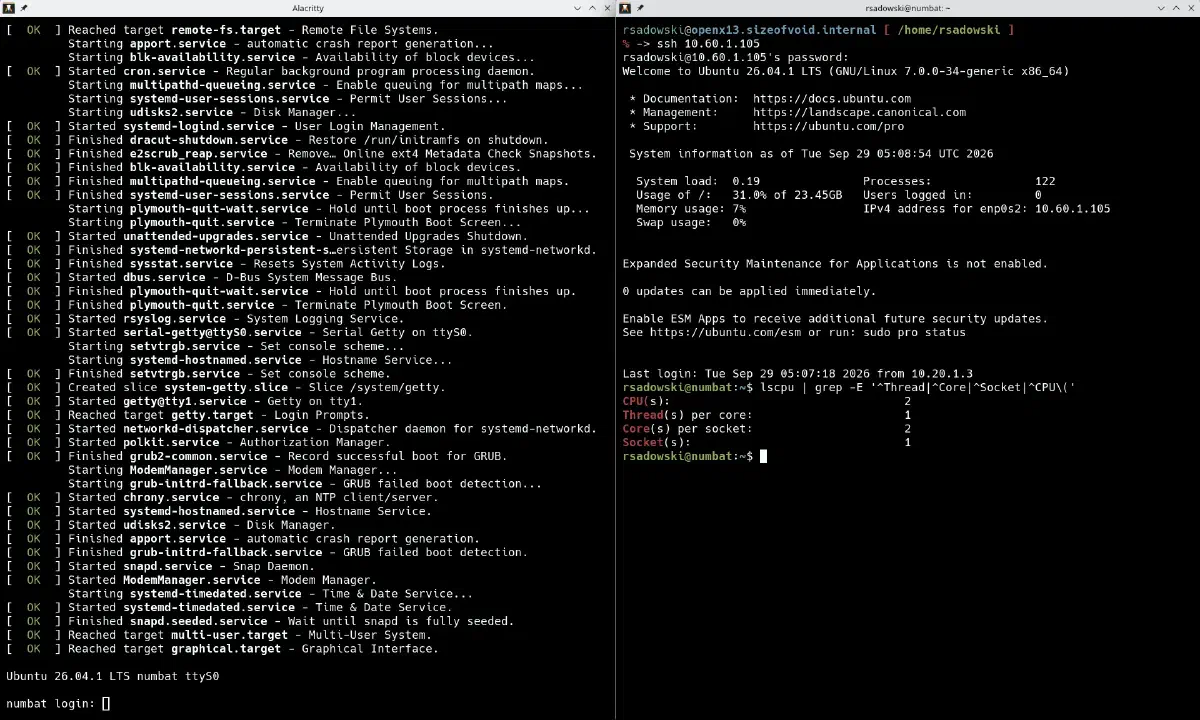

I wanted to run Ubuntu 26.04 Server inside an OpenBSD vmm(4) guest.
OpenBSD’s VM console is serial only, and the Ubuntu Server ISO does not
boot correctly on a serial console out of the box. This post shows how
to rebuild the Ubuntu ISO with the right kernel and GRUB options so it
installs cleanly through vmctl console.
If you are new to OpenBSD virtualization, read vm.conf(5) and
vmctl(8) first.
What you need #
- OpenBSD host with
vmmenabled andvmdrunning - The
xorrisopackage:pkg_add xorriso - The Ubuntu 26.04.1 Server ISO:
ubuntu-26.04.1-live-server-amd64.iso
Create the VM disk and config #
Create a 50 GB qcow2 disk and add a VM entry:
vmctl create -s 50G /var/vmm/ubuntu26.qcow2Edit /etc/vm.conf:
vm "ubuntu" {
    memory 4G
    cpus 2
    cdrom /var/vmm/cdrom/ubuntu-26.04.1-live-server-amd64.iso
    boot device cdrom
    disk /var/vmm/ubuntu26.qcow2
    owner rsadowski
    interface { switch "local" }
}
Reload it:
vmctl reloadDo not start the VM yet. The ISO we point at does not exist yet, we build it in the next steps.
Extract the GRUB config from the ISO #
xorriso ships with a helper called osirrox that can pull files out
of an ISO. We only need boot/grub/grub.cfg:
cd ~/Downloads
mkdir /tmp/build

osirrox -indev ./ubuntu-26.04.1-live-server-amd64.iso \
        -extract boot/grub/grub.cfg /tmp/build/grub.cfg
Rewrite grub.cfg for serial console #
The default menu entry on the 26.04.1 ISO looks like this:
menuentry "Try or Install Ubuntu Server" {
    set gfxpayload=keep
    linux  /casper/vmlinuz  ---
    initrd /casper/initrd
}
There are three problems for a headless vmm guest:
- GRUB does not switch its own terminal to serial.
gfxpayload=keeptells the kernel to keep GRUB’s graphics mode. There is no framebuffer invmm, so this can hang the boot.- The kernel never learns that it should print to
ttyS0, and there is noearlycon, so the first seconds of boot are silent even when the kernel is running fine.
Replace the content of /tmp/build/grub.cfg with:
set timeout=30

serial --unit=0 --speed=115200 --word=8 --parity=no --stop=1
terminal_input serial console
terminal_output serial console

set menu_color_normal=white/black
set menu_color_highlight=black/light-gray

menuentry "Try or Install Ubuntu Server" {
    linux  /casper/vmlinuz  nomodeset earlycon=uart8250,io,0x3f8,115200n8 console=tty0 console=ttyS0,115200n8 ---
    initrd /casper/initrd
}
grub_platform
if [ "$grub_platform" = "efi" ]; then
menuentry 'Boot from next volume' {
    exit 1
}
menuentry 'UEFI Firmware Settings' {
    fwsetup
}
fi
What changed and why:
serial ...andterminal_input/output serial consolemake GRUB itself talk to the serial port from the start.set gfxpayload=keepis removed.earlycon=uart8250,io,0x3f8,115200n8gives us kernel output immediately, before the regular serial console driver is up.0x3f8is COM1, which is whatvmmemulates.console=tty0 console=ttyS0,115200n8makesttyS0the login console after boot. When you list severalconsole=values, the last one becomes/dev/consolefor userspace.nomodesetstops the kernel from trying to set up a framebuffer that does not exist invmm.
Get the ISO build parameters #
Every Ubuntu ISO has slightly different partition offsets, an EFI
image of a different size, and a different volume date. Do not copy
these numbers from an old blog post. Ask xorriso for them:
xorriso -indev ./ubuntu-26.04.1-live-server-amd64.iso \
        -report_system_area cmd
For ubuntu-26.04.1-live-server-amd64.iso the interesting part of the
output was:
-volid 'Ubuntu-Server 26.04.1 LTS amd64'
-volume_date uuid '2026082605031200'
-boot_image grub grub2_mbr=--interval:imported_iso:0s-15s:zero_mbrpt,zero_gpt:'./ubuntu-26.04.1-live-server-amd64.iso'
-boot_image any partition_table=on
-boot_image any partition_cyl_align=off
-boot_image any partition_offset=16
-boot_image any mbr_force_bootable=on
-append_partition 2 28732ac11ff8d211ba4b00a0c93ec93b --interval:imported_iso:5707520d-5717815d::'./ubuntu-26.04.1-live-server-amd64.iso'
-boot_image any appended_part_as=gpt
-boot_image any iso_mbr_part_type=a2a0d0ebe5b9334487c068b6b72699c7
-boot_image any cat_path='/boot.catalog'
-boot_image grub bin_path='/boot/grub/i386-pc/eltorito.img'
-boot_image any platform_id=0x00
-boot_image any emul_type=no_emulation
-boot_image any load_size=2048
-boot_image any boot_info_table=on
-boot_image grub grub2_boot_info=on
-boot_image any next
-boot_image any efi_path='--interval:appended_partition_2_start_1426880s_size_10296d:all::'
-boot_image any platform_id=0xef
-boot_image any emul_type=no_emulation
-boot_image any load_size=5271552
Run the command on your own ISO and copy what it prints. The numbers will change with every point release.
Build the new ISO #
Paste the block above, add -indev, -outdev and -map on top, and
put a \ at the end of every line except the last:
xorriso -indev ./ubuntu-26.04.1-live-server-amd64.iso \
  -outdev ./ubuntu26.iso \
  -map /tmp/build/grub.cfg boot/grub/grub.cfg \
  -volid 'Ubuntu-Server 26.04.1 LTS amd64' \
  -volume_date uuid '2026082605031200' \
  -boot_image grub grub2_mbr=--interval:imported_iso:0s-15s:zero_mbrpt,zero_gpt:'ubuntu-26.04.1-live-server-amd64.iso' \
  -boot_image any partition_table=on \
  -boot_image any partition_cyl_align=off \
  -boot_image any partition_offset=16 \
  -boot_image any mbr_force_bootable=on \
  -append_partition 2 28732ac11ff8d211ba4b00a0c93ec93b --interval:imported_iso:5707520d-5717815d::'ubuntu-26.04.1-live-server-amd64.iso' \
  -boot_image any appended_part_as=gpt \
  -boot_image any iso_mbr_part_type=a2a0d0ebe5b9334487c068b6b72699c7 \
  -boot_image any cat_path='/boot.catalog' \
  -boot_image grub bin_path='/boot/grub/i386-pc/eltorito.img' \
  -boot_image any platform_id=0x00 \
  -boot_image any emul_type=no_emulation \
  -boot_image any load_size=2048 \
  -boot_image any boot_info_table=on \
  -boot_image grub grub2_boot_info=on \
  -boot_image any next \
  -boot_image any efi_path='--interval:appended_partition_2_start_1426880s_size_10296d:all::' \
  -boot_image any platform_id=0xef \
  -boot_image any emul_type=no_emulation \
  -boot_image any load_size=5271552
The result is ubuntu26.iso. Move or copy it to the path you set in
/etc/vm.conf.
Boot the installer #
vmctl start ubuntu26
vmctl console ubuntu26
The GRUB menu appears on the serial console. After the timeout, the
kernel takes over. With earlycon in place, you see kernel messages
right after GRUB, followed by the normal Ubuntu Server installer.
Do the install as usual. When the installer reboots, drop the CD-ROM
line from /etc/vm.conf or change boot device to disk, then
vmctl reload and start the VM again.